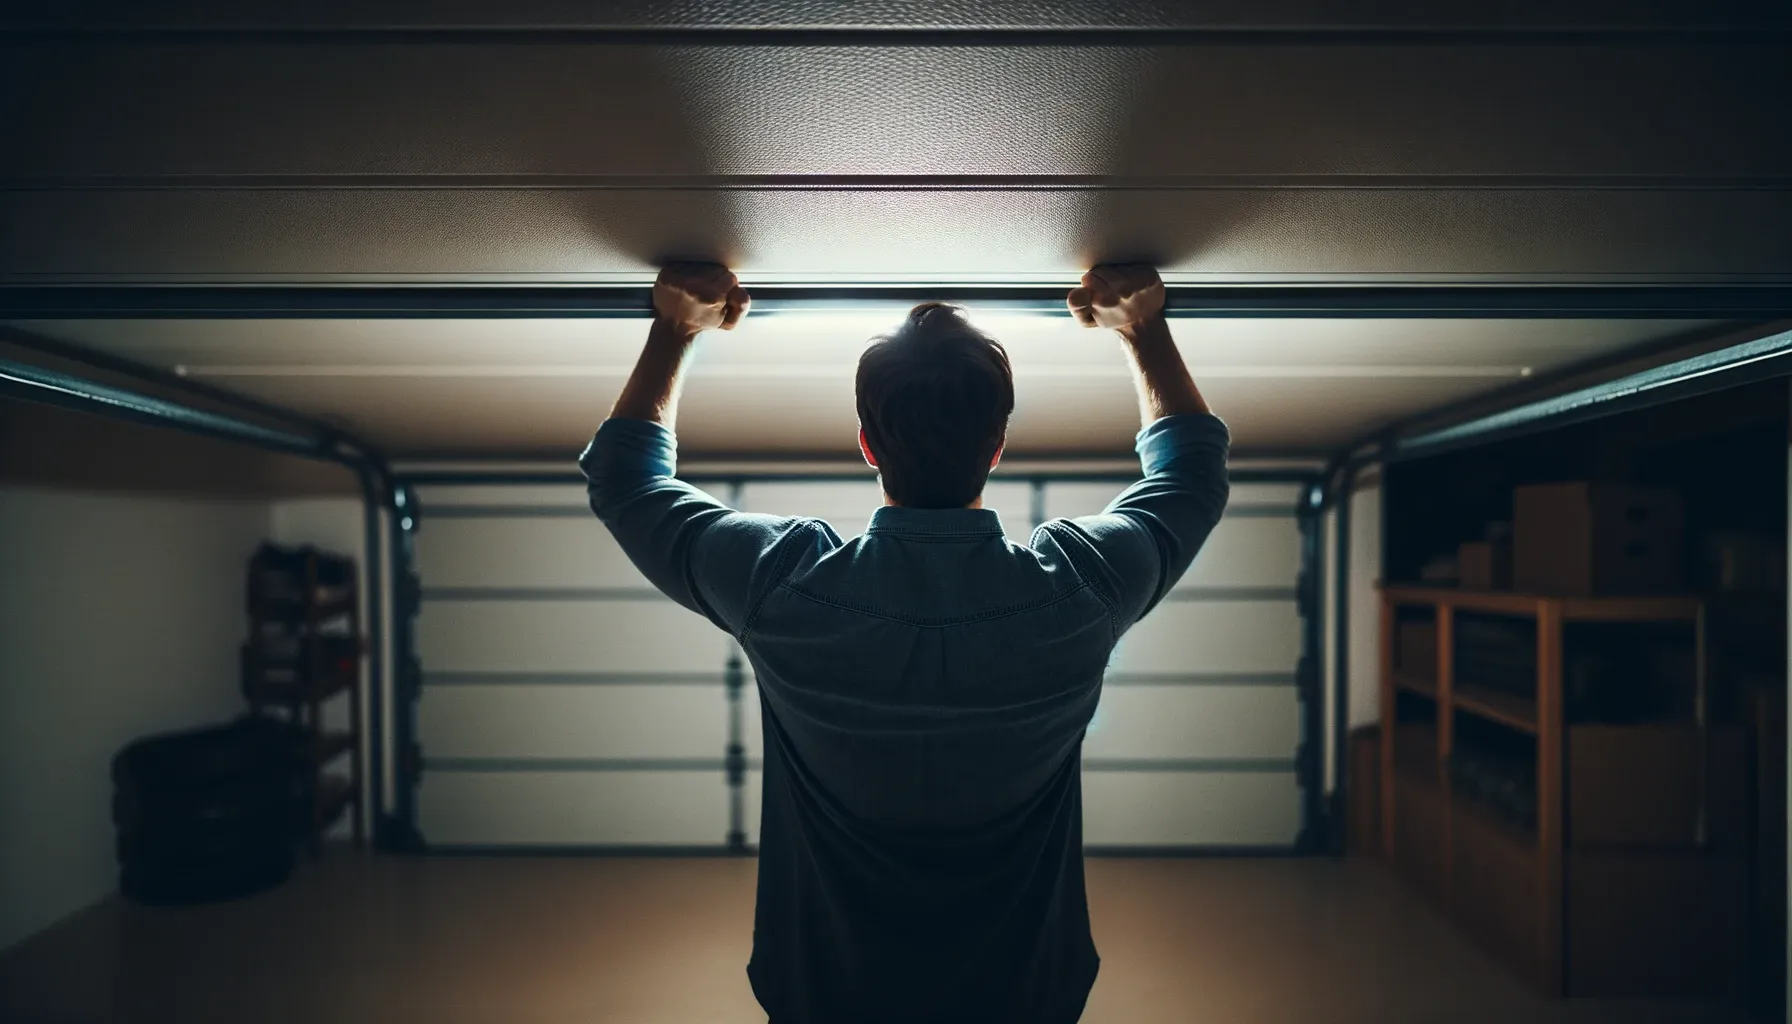
When you think about essential life skills, programming a garage door opener probably doesn’t top the list. But ask anyone who’s been locked out of their garage or felt the frustration of a malfunctioning opener—knowing how to set up a garage door opener is not just convenient; it’s a game-changer.
So, can you program a garage door opener yourself? Absolutely. And today, you’re going to learn how to do just that. This is not just a set of mechanical instructions but a journey through the diverse terrains of technology, home security, and the little-known world of garage doors.
The Different Types of Garage Door Openers
Before you dive into programming your garage door opener, it’s crucial to know what you’re dealing with. Garage door openers come in different types, each with their own set of programming requirements.
- Chain-Driven Openers: The oldest and most reliable. However, they can be noisy.

- Belt-Driven Openers: Similar to chain-driven but quieter. Ideal for homes with attached garages.

- Screw-Driven Openers: These offer a middle-ground between chain and belt-driven types.
- Jackshaft Openers: Mounted on the wall beside the garage door, they free up ceiling space and are generally quieter.
- Direct-Drive Openers: These use a motor that moves along a stationary chain, making them extremely quiet and reliable.
For more insights into the types of garage door openers, you can read our guide on Types of Garage Doors.
The Pre-Requisites: Before You Get Started
Programming a garage door opener isn’t just a plug-and-play affair. You need some basic tools and a bit of preparation.
Tools You’ll Need
- Screwdriver
- Ladder
- Garage Door Opener Remote
Safety First!
- Ensure electrical safety by unplugging the garage door opener before you start.
- Use a stable ladder; height safety is crucial.
It’s also wise to read up on Garage Door Maintenance Tips to ensure you’re working with an opener in good condition.
Step-By-Step Guide to Programming a Garage Door Opener
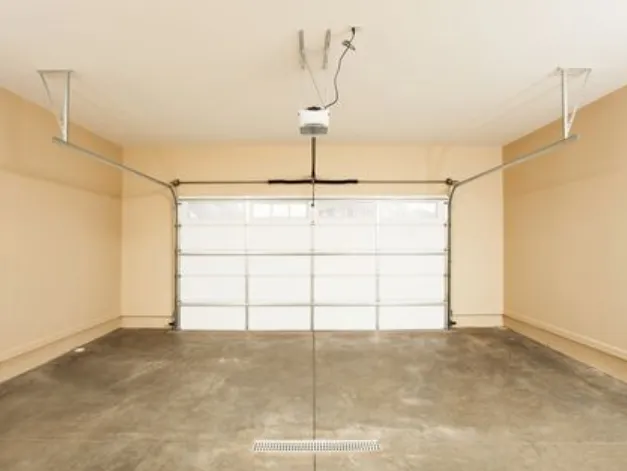
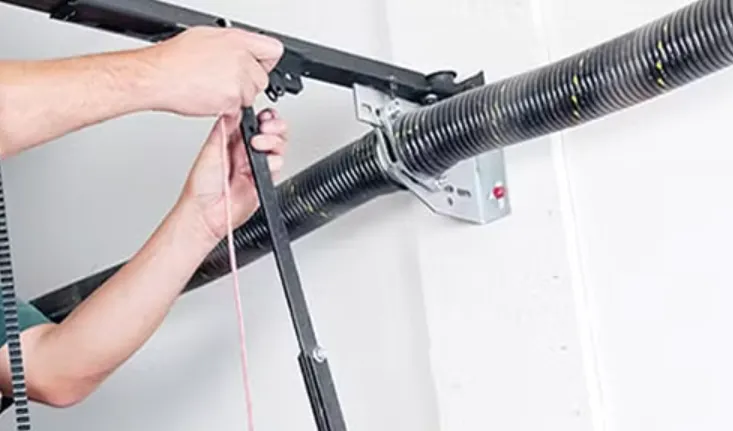
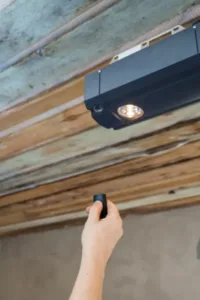
1. Locating the ‘Learn’ or ‘Program’ Button
- Locate Button: Typically situated on the motor unit hanging from the ceiling. It could also be under a lens cover.
- What It Looks Like: Usually a small square or round button, color-coded either red, yellow, or green.
2. How to Reset Existing Codes and Why It’s Important
- Why It’s Important: Resetting removes old or default codes that could be exploited by unauthorized users.
- How to Reset: Press and hold the ‘Learn’ button until the LED light turns off.
3. Steps for Inputting a New Code
- Press ‘Learn’ Button: The LED indicator should start to blink.
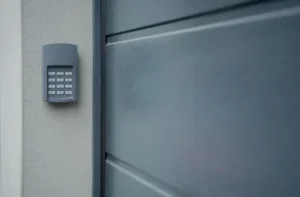
- Enter Code on Keypad: If your model comes with an external wireless keypad, now’s the time to enter the new code.
- Confirm on Unit: Press the ‘Learn’ button again on the unit to confirm the new code.
4. Pairing the Garage Door Opener with the Remote
- Re-enter Learning Mode: Activate learning mode by pressing the ‘Learn’ button on the unit.
- Press Button on Remote: Within 30 seconds of hitting ‘Learn’, press the desired control button on your remote.
- LED Indicator: The LED on the unit should glow steadily, indicating that the remote has been successfully paired.
Syncing the Garage Door Opener to Ensure Functionality
- Operate via Keypad: Use the new code on the keypad to open and close the door.
- Operate via Remote: Test the button(s) you’ve programmed on the remote.
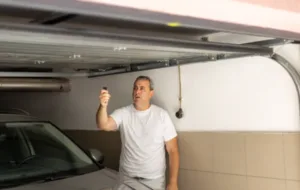
Testing the New Setup to Validate Proper Programming
- Multiple Operands: If your system uses multiple remotes or keypads, test all to ensure they work.
- Safety Sensors: Test the door’s safety sensors to confirm they halt operation if an object is detected.
- Full Cycle: Open and close the door completely to validate that the new settings are functional.
Common Troubleshooting Steps
| Issue | Solution |
|---|---|
| No response from the remote | Replace battery and try again |
| LED on the unit is not active | Reset the power by unplugging and re-plugging the unit |
| Door reverses immediately | Check the safety sensors for obstructions |
| Door doesn't close fully | Adjust the close-limit adjustment screw |
### Video Tutorial for Enhanced Understanding
For a more hands-on understanding of the rogramming process, check out the video tutorial below. It provides a step-by-step visual guide to programming your garage door opener, ensuring a seamless process:
Credit – Mount Garage Doors – Westminster, Maryland
Brand-Specific Programming Guides
Programming a garage door opener can vary widely depending on the brand you own. Below are some guidelines for popular brands to help you tailor your programming process.
LiftMaster: How to Program and Set Up
- Find the ‘Learn’ Button: Usually located on the back or side of the motor unit.
- Reset if Necessary: Hold the ‘Learn’ button until the LED turns off to clear any previous settings.
- New Code: Press the ‘Learn’ button briefly and then input your new code on the keypad or remote within 30 seconds.
- Test: Make sure the door opens and closes correctly with all devices.
Genie: Steps for Effective Programming
- Locate ‘Program Set’ Button: Found on the opener unit.
- Indicator Light: Press the button and wait for the indicator light to start flashing.
- Remote Programming: Press the button you wish to use on the remote; the indicator light will turn off and then back on.
- Validation: Test the button to ensure it works as intended.
Chamberlain: Programming and Troubleshooting
- ‘Learn’ Button: Locate and press it on the motor unit.
- Remote Pairing: Press and hold the button you wish to program on the remote until you see the opener lights flash.
- Keypad: If you have a digital keypad, enter your new code within 30 seconds of pressing the ‘Learn’ button.
- Common Issues: If the door doesn’t respond, try resetting the unit and starting over. Refer to the troubleshooting table in section V.
Craftsman: Step-By-Step Programming Guide
- Locate Control Console: This is usually near the garage door opener unit.
- Access Panel: Open the control console and locate the ‘Program’ button.
- Remote Sync: After pressing ‘Program’, press the button you’d like to program on your remote.
- Confirmation: You’ll know the programming is successful when the opener’s lights flash or you hear a clicking sound.
Programming Features Across Popular Brands
| Brand | Smart Home Compatibility | Unique Features |
|---|---|---|
| Chamberlain | Yes | MyQ Technology |
| Genie | Limited | Intellicode |
| LiftMaster | Yes | Digital control panel |
| Craftsman | Yes | AssureLink |
| Ryobi | Yes | Modular attachments |
| Sommer | No | Quiet operation |
| Skylink | Yes | Voice command support |
Advanced Garage Door Programming Features
Pairing with Home Automation Systems: “How to Sync a Garage Door Opener”
In the era of smart homes, the ability to pair your garage door opener with a home automation system is not just a luxury but an expectation. Here’s how to sync your garage door opener with most home automation systems:
- Step 1: Open your home automation app and navigate to ‘Add Device.‘
- Step 2: Select ‘Garage Door Opener’ from the list of devices.
- Step 3: Press the ‘Sync’ or ‘Learn’ button on your garage door opener. It might be something else like connect etc depending on the type of automation system you have.
- Step 4: Follow the on-screen instructions on your app to complete the pairing.
- Step 5: Test the setup by attempting to open and close the garage door through the app.
Setting Up and Programming Multiple Remotes
Sometimes, a single remote control just doesn’t cut it—perhaps you have multiple vehicles or multiple drivers. Here’s how you can program multiple remotes for your garage door opener:
- Step 1: Locate the ‘Learn’ or ‘Program’ button on the opener.
- Step 2: Press it and wait for the LED to blink.
- Step 3: Press the button on the first remote.
- Step 4: Repeat steps 2 and 3 for each additional remote.
- Step 5: Test each remote to ensure it’s properly synced.
Troubleshooting Common Issues while Programming or Setting up Garage Door Opener and Remote
What to Do When the Opener Is Not Responding?
- Check Power Source: Make sure the garage door opener is plugged in.
- Examine Remote Batteries: Dead batteries are a common culprit.
- Inspect Wiring: Check if any wires are disconnected or damaged.
- Consult the Manual: Manufacturer-specific issues may have dedicated solutions.
How to Address Inconsistent Operation?
- Sensor Obstruction: Make sure there’s nothing blocking the sensors at the bottom of the door.
- Remote Interference: Other electronic devices can sometimes interfere with the remote signal.
- Update Software: If your opener is smart-enabled, check for firmware updates.
Dealing with Remote Control Issues?
- Battery Check: Replace batteries and test the remote.
- Distance: Make sure you’re within the operational range of the opener.
- Re-Programming: Sometimes, remotes lose their programming and need to be reset.
By following these steps and solutions, you’re not just fixing immediate problems—you’re also preventing potential ones. Troubleshooting your garage door opener might seem like a daunting task, but with a bit of know-how and some elbow grease, it’s easier than you might think.
FAQa on Programming Garage Door Opener
Is it easy to set up a garage door opener?
Yes, setting up a garage door opener is generally straightforward, especially if you follow the manufacturer’s instructions and take necessary safety precautions. Most homeowners can complete the task with some basic tools and a helping hand.
How do I set my garage door to manual mode?
To set your garage door to manual mode, you’ll typically need to disconnect it from the opener by pulling a release cord, which is often red and hangs from the opener. Once disengaged, you can move the door manually.
How do I reset my garage door remote?
Resetting a garage door remote usually involves pressing and holding a ‘Learn’ or ‘Program’ button on the main opener until the LED light blinks, then pressing a button on the remote. The specific steps can vary by brand, so it’s best to consult your owner’s manual.
How to reprogram a LiftMaster garage door opener?
For LiftMaster, press and release the ‘Learn’ button on the opener. The LED light will illuminate. Within 30 seconds, press the desired button on your remote control. The opener lights will blink, indicating successful programming.
- LiftMaster: Generally located near the antenna and is brightly colored.
- Genie: Usually on the side of the opener and may require removing a lens or cover.
- Chamberlain: Typically near the wiring terminals.
How to Set Up a New Garage Door Opener Based on Type
- Chain-Driven: Follow standard programming and also adjust chain tension.
- Belt-Driven: Besides the ‘Learn’ button, you may also have to set the belt tension.
- Screw-Driven: Adjust the screw setting and then proceed to use the ‘Learn’ button.
Additional Resources for Garage Door Owners:
To further assist you in managing and understanding your garage door system, we have compiled a list of valuable resources. These articles provide in-depth knowledge and practical tips, ensuring you’re well-equipped to handle various aspects of your garage door:
- Reprogramming Garage Door Opener: If you need to reset or reprogram your opener, find comprehensive guidance for various models.
- Garage Door Opener Cost: Get informed about the financial aspects of different garage door openers, whether you’re considering an upgrade or a new installation.
- How to Open Garage Door Without Power: Learn essential techniques to manually open your garage door during power outages or emergencies.
- Common Garage Door Problems & How to Fix Them: Encounter a snag while programming? This article addresses common issues and offers troubleshooting steps.
- Garage Door Maintenance Tips: Regular maintenance is key to longevity. These tips will help you keep your garage door in top shape.
We hope these resources provide you with additional insights and help you manage your garage door system more effectively.
Final Thoughts
Programming your garage door opener is not just a matter of convenience but an essential step for home security. It’s imperative to know not just how to program, but also how to troubleshoot issues and make the most of advanced features.
We’d love to hear about your experiences and challenges while programming your garage door opener. Your stories could be invaluable to others facing similar situations. And remember, if you encounter unique or advanced programming needs, always consult your brand-specific manuals for guidance. Your security and convenience are worth that extra bit of time.